Modifying images
This guide provides step-by-step instructions on how to modify an image. It covers how to add an image, resize it, crop it, zoom in, rotate, and flip it. The guide also includes helpful visual examples.
1. Navigate to https://demo.kontrolit.net/admin/pages/new
2. To add image, select annotated image button in the tool bar in the toolbar.

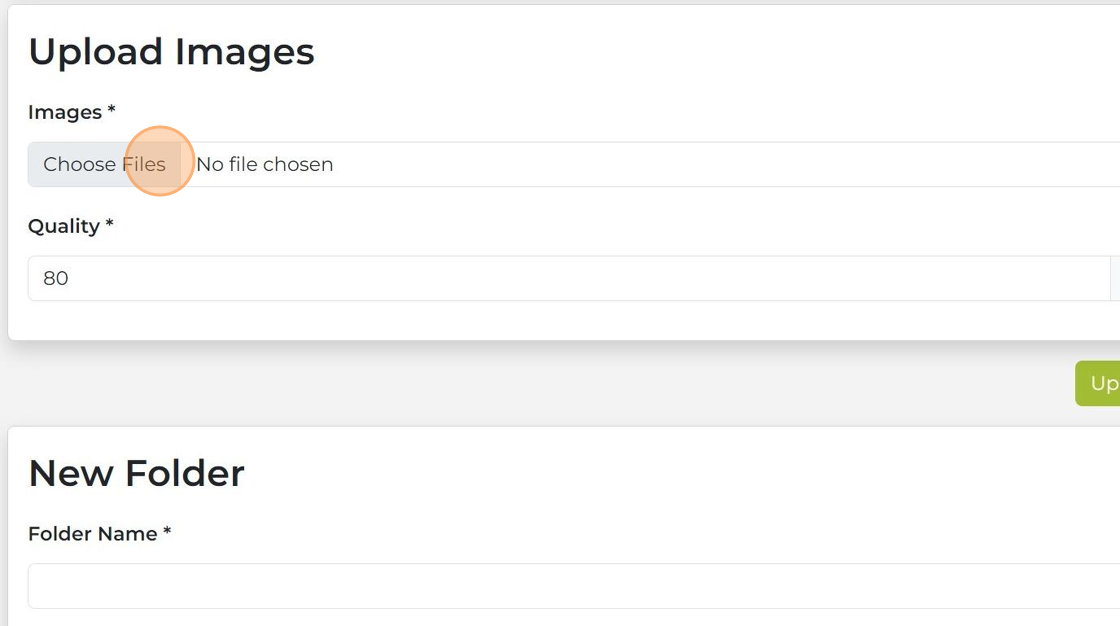
3. Once you have clicked the image button in the tool bar, click "Choose Files" and this will allow you to select an image from you computer.
4. This takes you the file explorer and allows you to select your images from your computer. once you select the image click “Open”

5. To access the image modifying tool, click "Modify" button on the left of the image.

Scaling & Sizing Images
- Size: resize the image to match the preset size exactly. This may involve cropping to match the dimensions. See image below for an example.
- Fit Area: resize the image to the preset size while fitting within the maximum dimensions.

7. The tools highlighted in orange allow you to perform the following actions:
- Move: reposition the selection area used to resize the image. This is useful if the resizing would remove or uncenter a key element.
- Crop: remove the outer parts of the image.
- Zoom: magnify the image to focus on a specific part. A higher resolution image will allow you to zoom further.
- Rotate: rotate the image 90 degrees clockwise or counter clockwise.
- Flip: mirror the image horizontally or vertically.
Click "Save and Close" once you are done.

8. Click "Upload" and your image will be uploaded
