Users
If your site has a shop, events or members, then this is where your customers’ data can be found.
Sorting Users
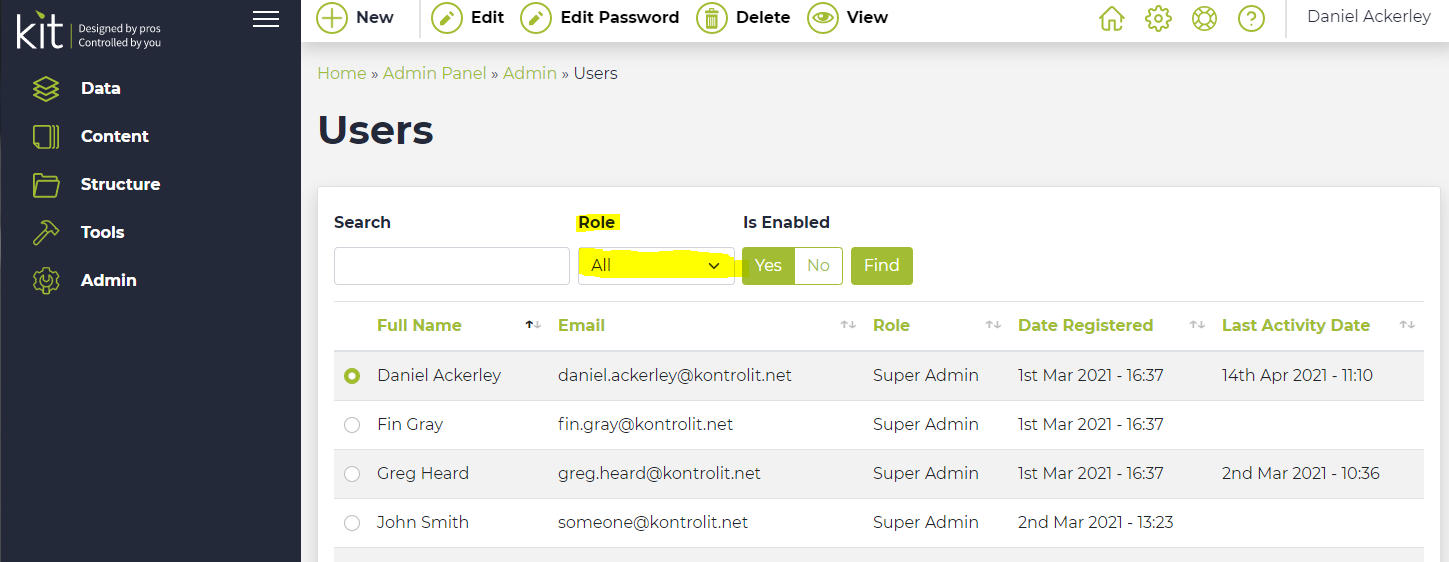
You can filter users by their role:
- Press the ‘All’ dropdown list
- Choose the role you want to filter by
- Press the ‘Find’ button

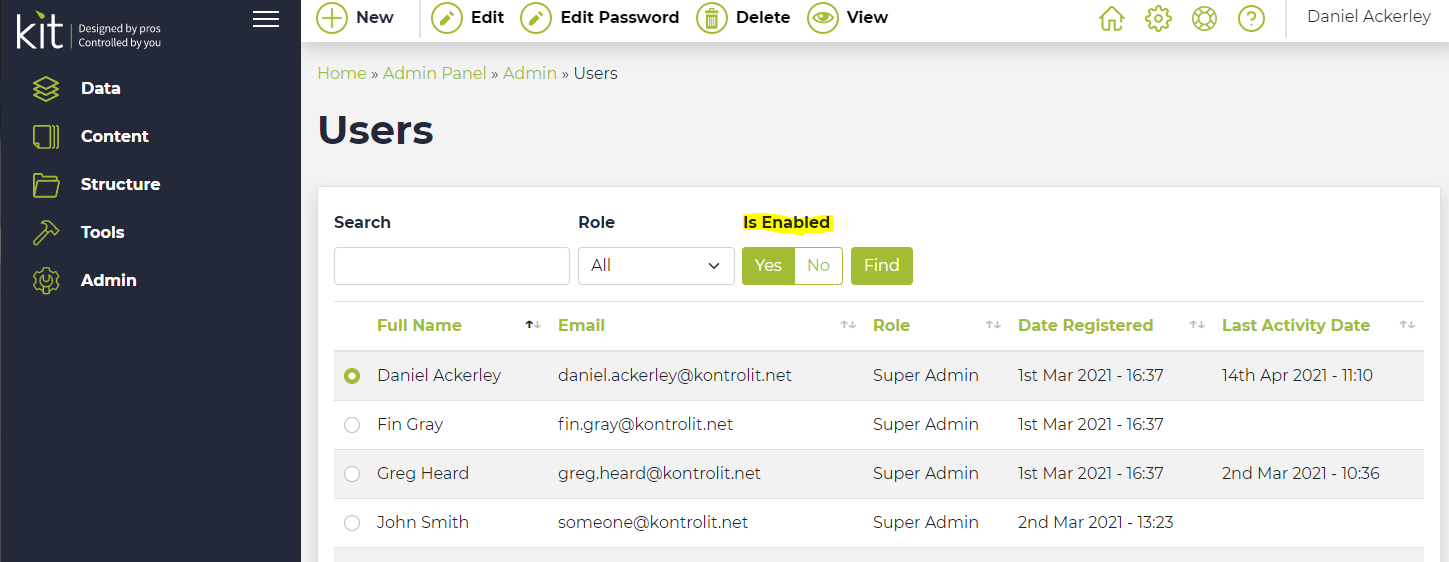
You can sort by enabled or disabled users:
- Choose either ‘Yes’ or ‘No’ for the ‘Enabled’ section
- Press the ‘Find’ button

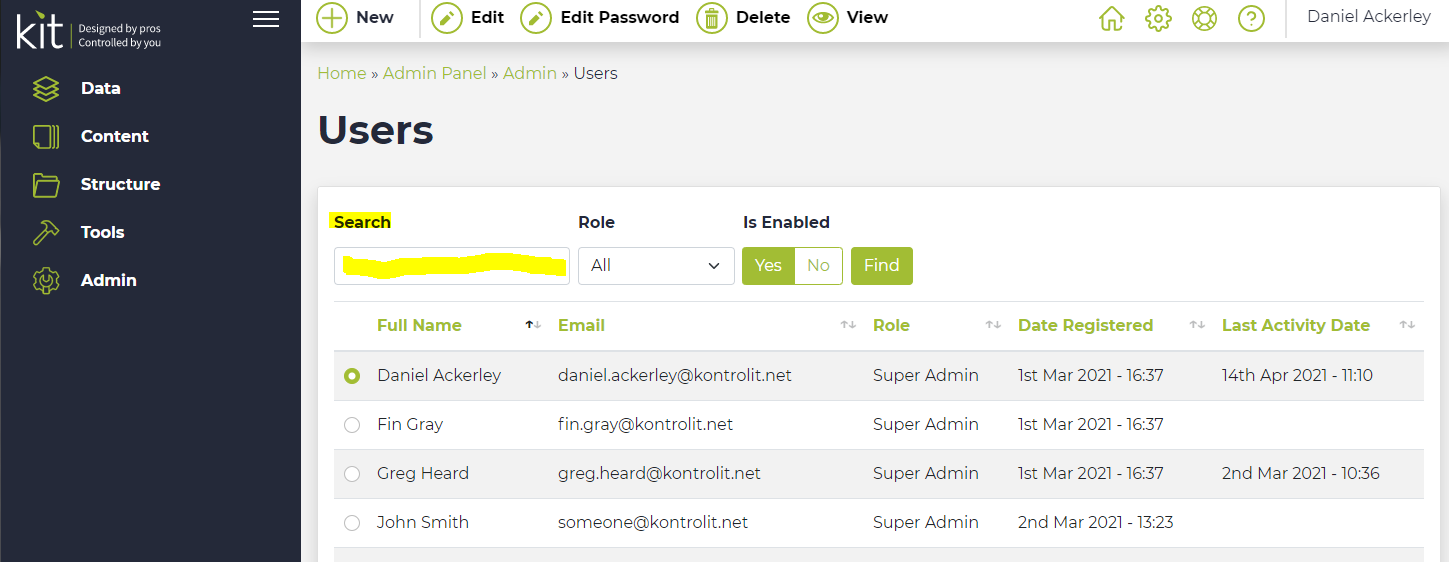
You can search for a user by name:
- Type the username into the ‘Search’ box
- Press the ‘Find’ button

View User Details
- Choose the user whose details you want to view
- Press the ‘View’ button at the top of the page
- Press the tab you want to view details of, e.g.: ‘Address Book’, ‘Bookings’, ‘Emails’, ‘Product Orders’
- The tabs shown will differ depending on the modules you have installed on your site
- Choose the entry you want to view
- Press one of the following buttons at the top of the page depending upon the section:
- ‘View’ – this entry is read-only
- ‘Edit’ – this entry will be editable. After you have made your change, press ‘Save’ at the top of the page.
Creating a New User
You can add new users in the back-end of the website, such as an admin, by:
- Press the ‘New’ button at the top of the screen
- Fill out the new user’s details. Only the following fields are required:
- Username: this is the name the user can use to login.
- Password: the password the user will use to login. They can reset this themselves using the ‘Forgot Password’ feature.
- Role: choose a role for the user with the correct level of permissions. If a user doesn’t need admin features, consider using (or creating) a role with less permissions.
- Name: the user’s first and last name.
- Email: the email address the user will use to login and receive emails.
- Telephone: users telephone number
- Photo: photo of the user.
- Time zone: set the users time zone, by default this will select the default site time zone.
- Is Active: set whether the user is active or not.
- Press ‘Save’ at the top of the page
Editing a User
You can edit a user’s information such as their email or role:
- Choose the user you want to edit
- Press the ‘Edit’ button at the top of the page
- Change the details you want to edit
- Press ‘Save’ at the top of the page
Deleting a User
You can delete a user providing they have never interacted with the site. To delete a user:
- Choose the user you want to delete
- Press the ‘Delete’ button at the top of the page
If you are trying to delete a user and they are blocked (because they have interacted with the site), then you will need to disable them instead.
Disabling a User
Disabling a user will keep the user’s data on the back-end of the site, but they won’t be able to use the site. To disable a user:
- Choose the user you want to disable
- Press the ‘Edit’ button at the top of the page
- Change the ‘Enabled’ field to ‘No’
- Press ‘Save’ at the top of the page
Resetting a User’s Password
You can edit a user’s password to reset it:
- Choose the user whose password you want to reset
- Press the ‘Edit Password’ button at the top of the page
- Type the user’s new password
- Press the ‘Save’ button at the top
