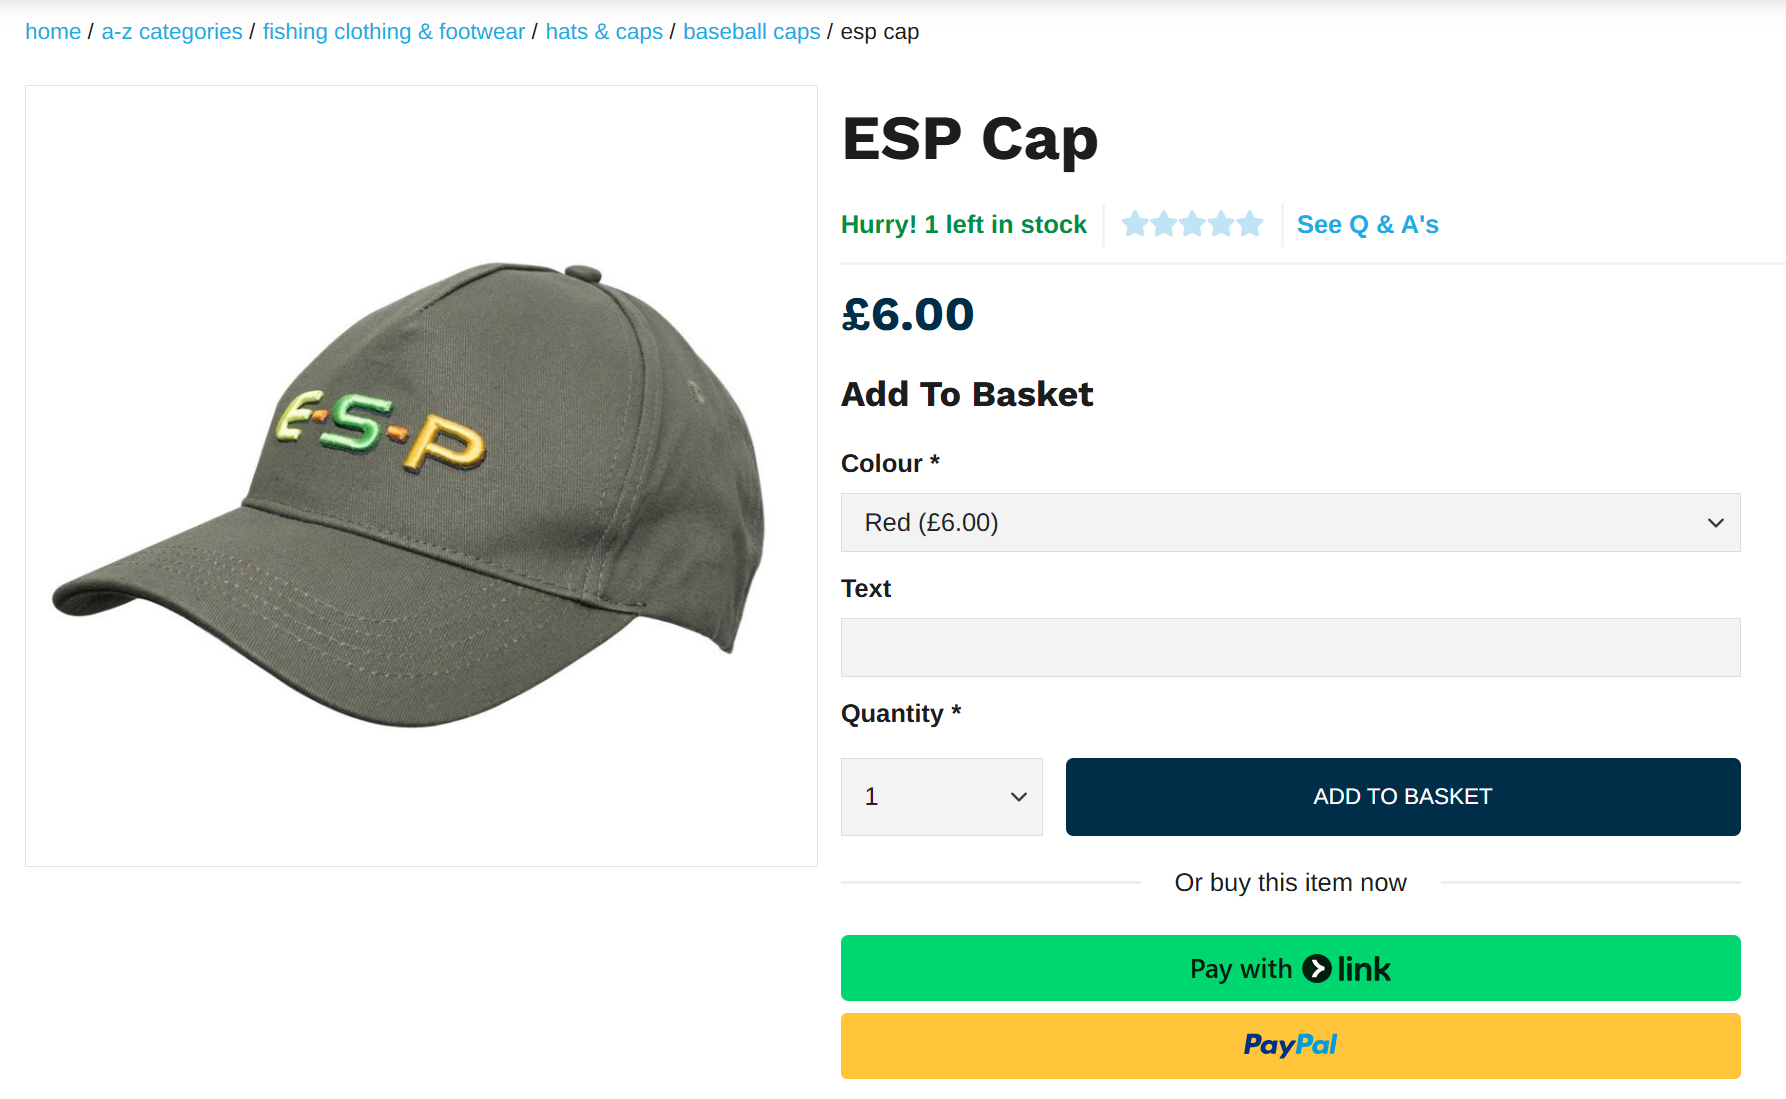
How to add a Product Field
Project fields appear under product listings based on the products selected for the listing.
If you have product variants, this allows users to choose their own personalisation options. For example, the colour of a T-shirt, or to add a message onto it.
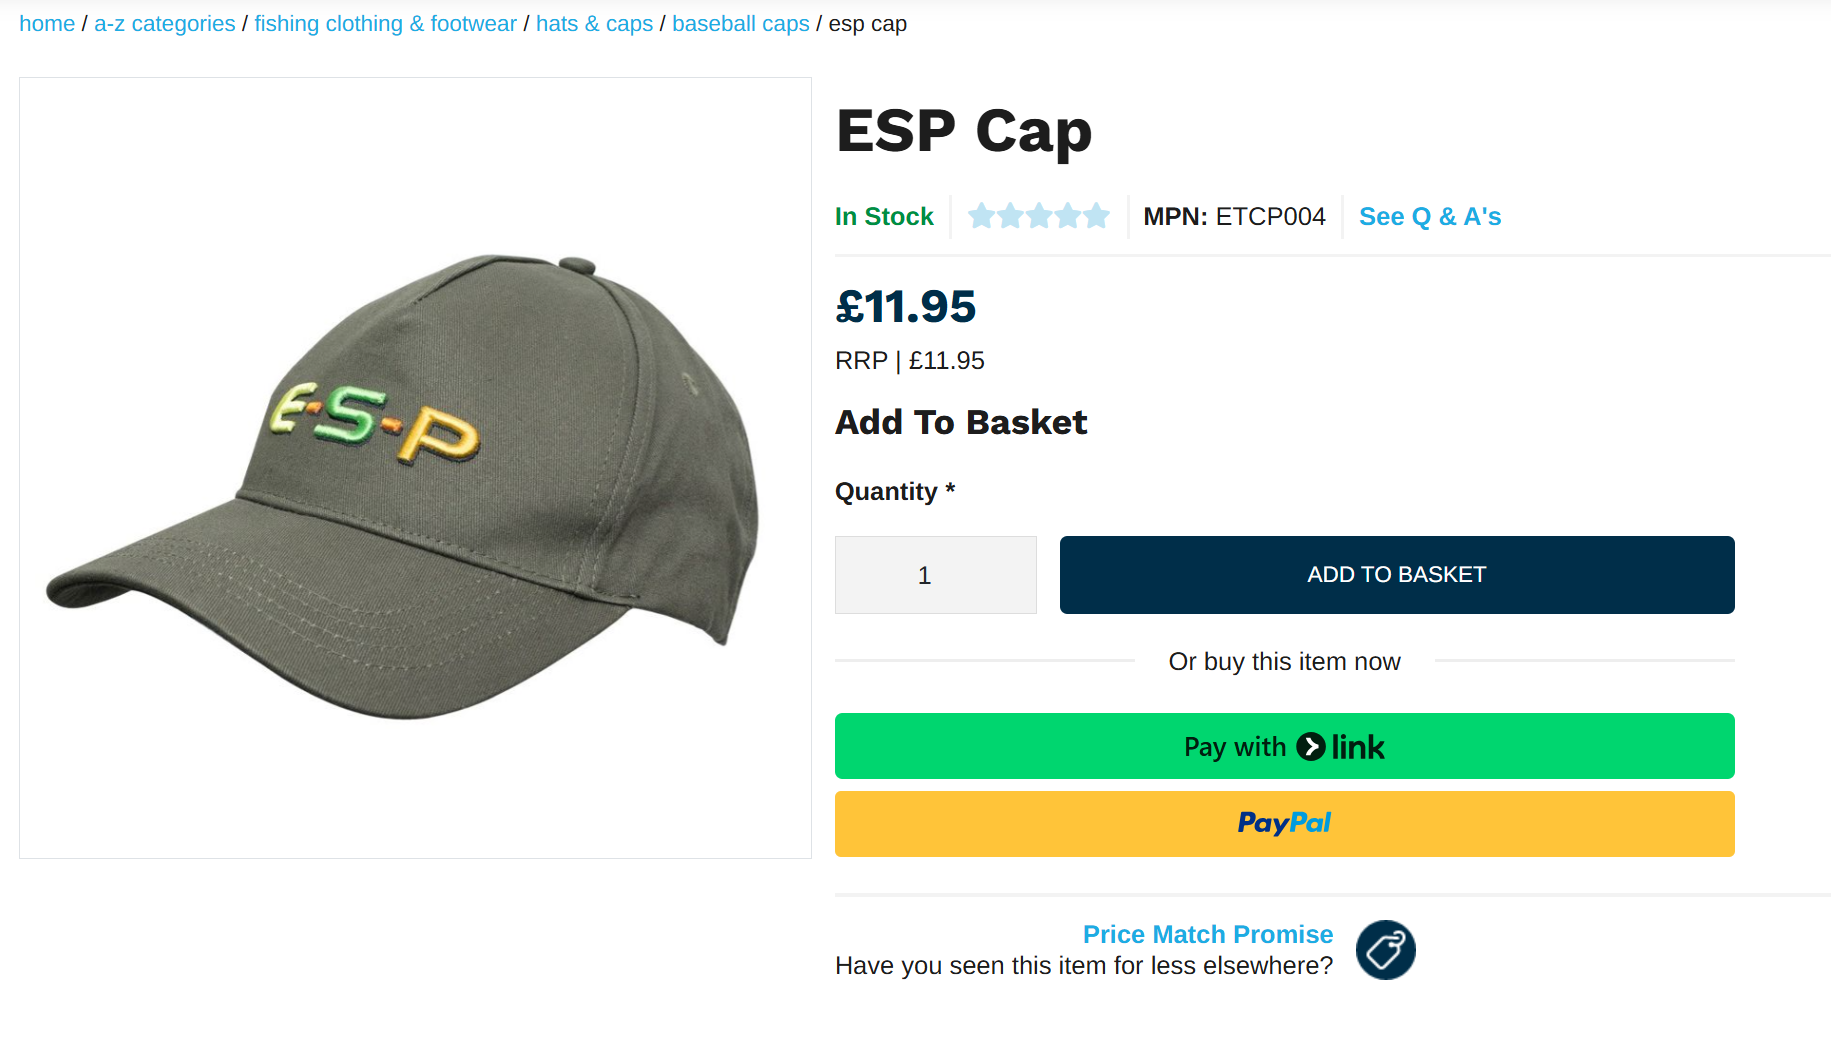
I'm going to add a “Colour” and “Engraving” options to this.
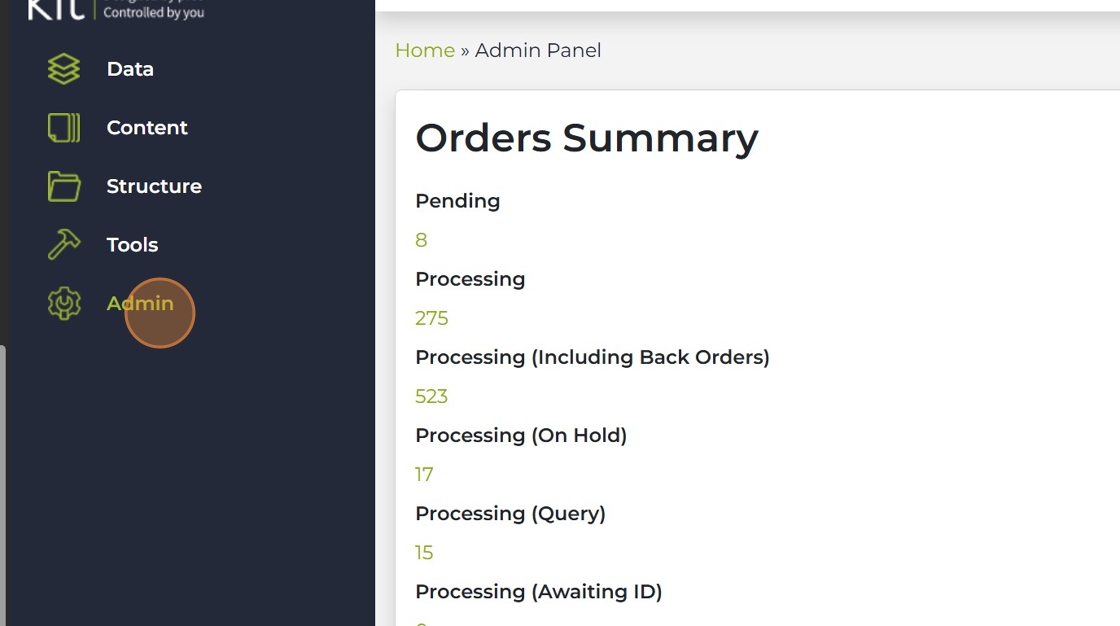
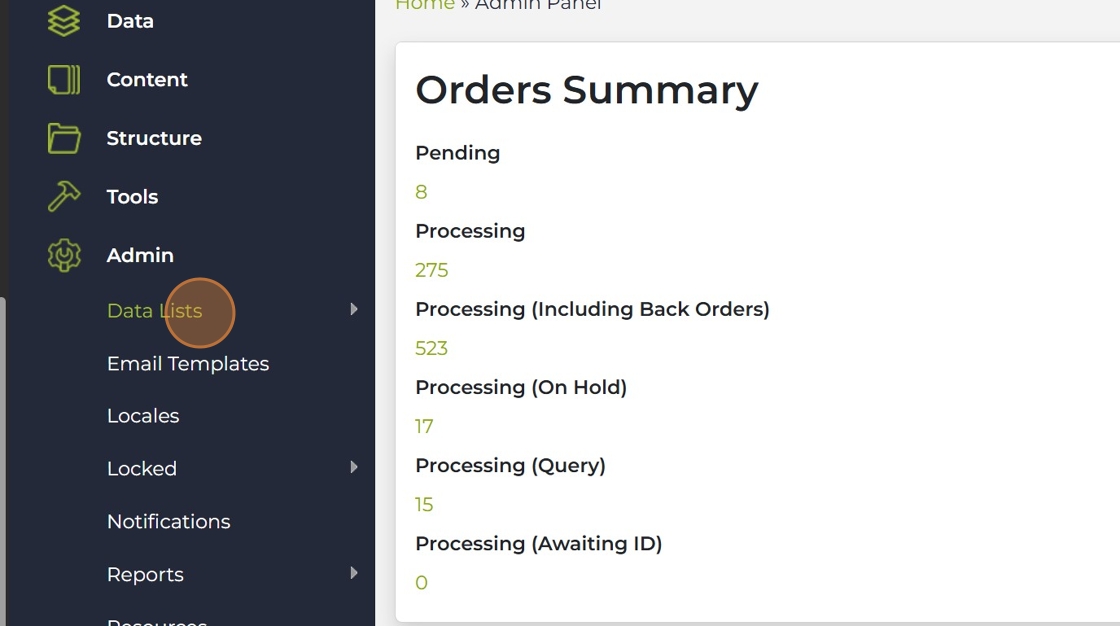
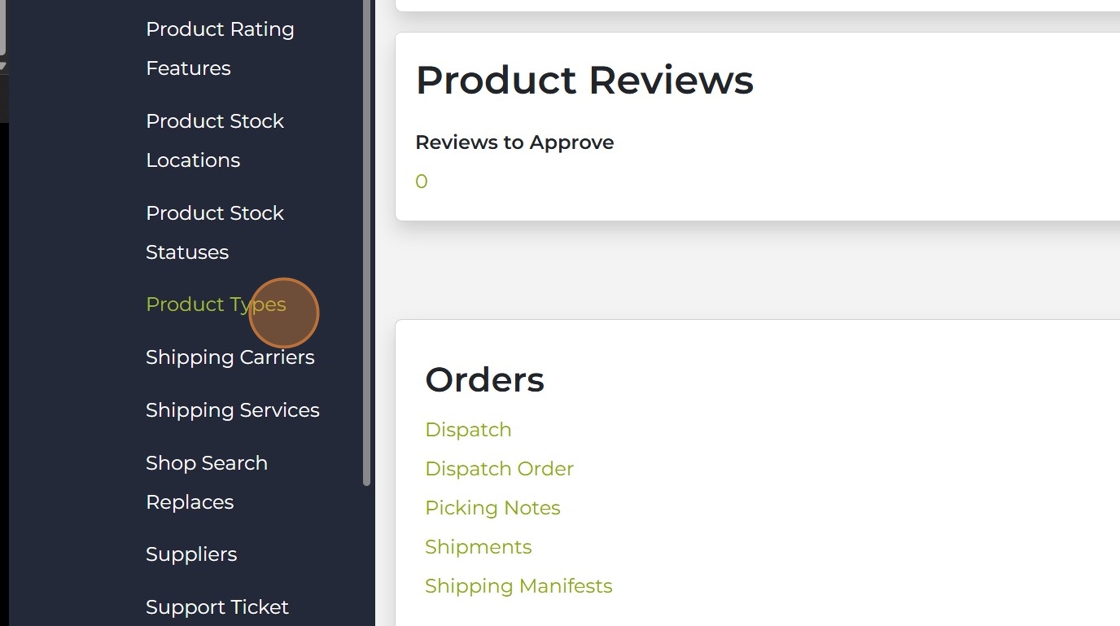
First, create a product type. Admin panel > Admin > Data lists > Product Types.
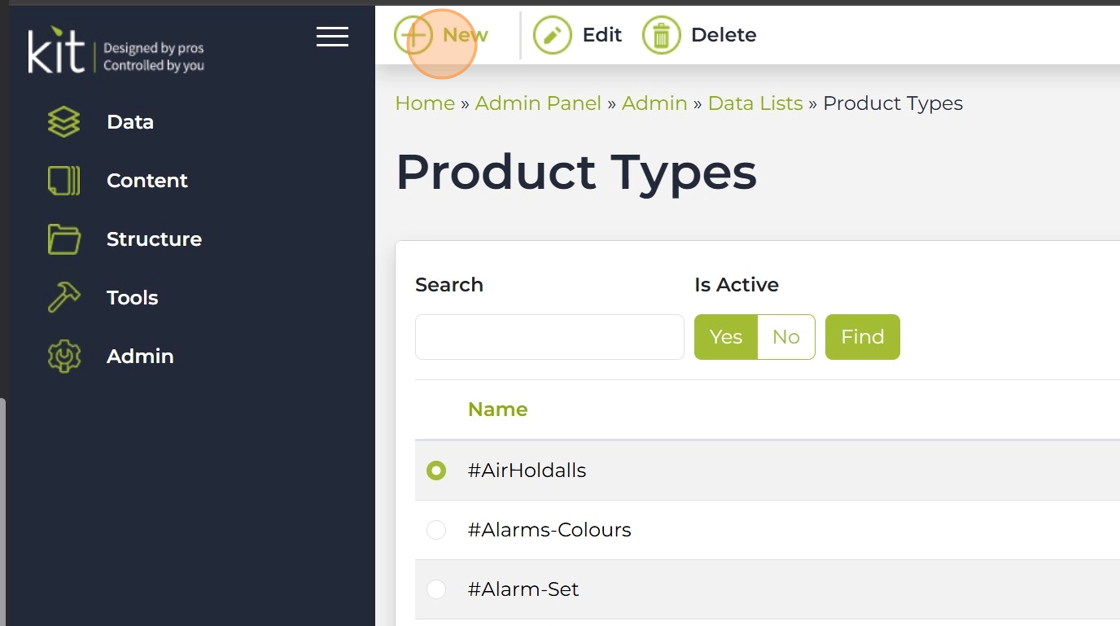
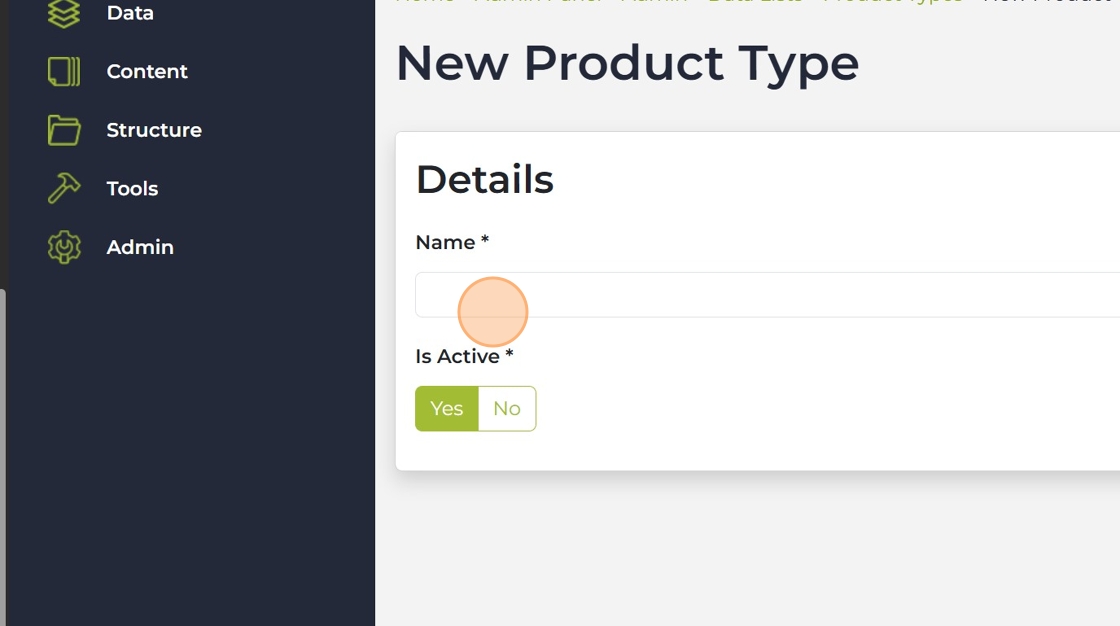
Press onto “New” and enter its name. I'm calling it “Caps” so I can add this onto other cap products.
.png)
We now need to add some product fields. These show the different options that can be selected on the product.
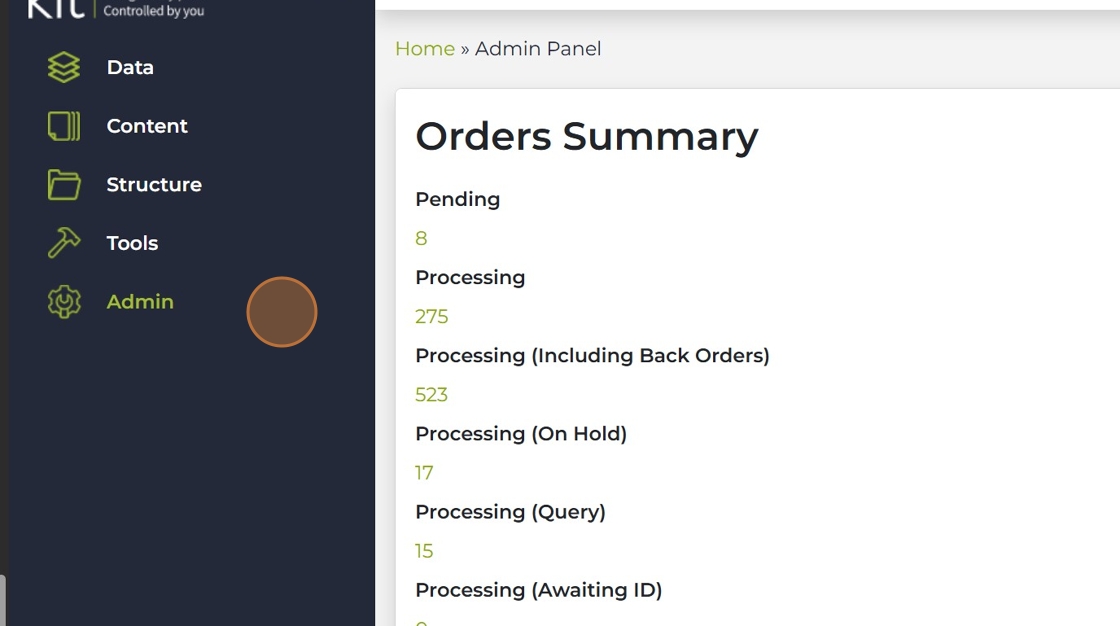
Go to Admin > Data lists > Product Fields. Press "New".
.png)
.png)
.png)
The Name acts as an id of the product. Meaning you can reference this name in other product fields, to make then be dependent on what value is selected in that one.
the display name is what actually appears under the product.
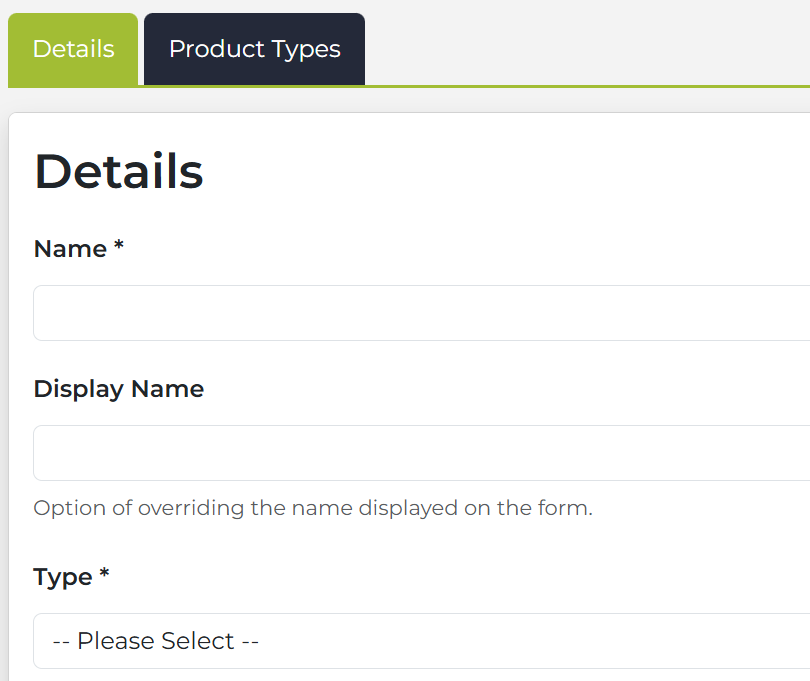
Select "Drop Down List" from Type.
.png)
.png)
When this is selected, an Options tab will appear at the top. This allows you to add selection options.
On Is Select List, choose Yes. Here you can choose how the select list looks like.
A Drop Down is just a normal select list.
Off-Canvas is where an area is shown form the side of the screen.
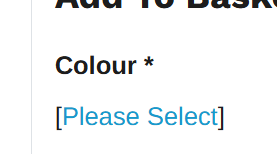
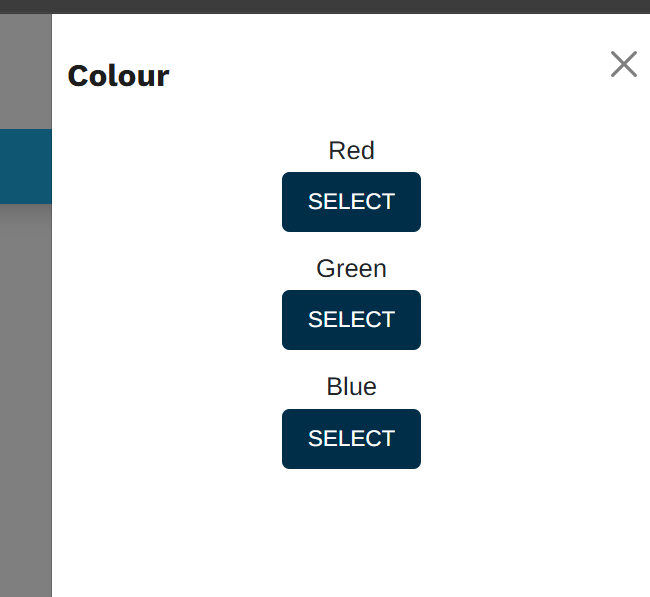
And Pills are when it appears in a pill-like format.

Press the "Options" tab and the other values.
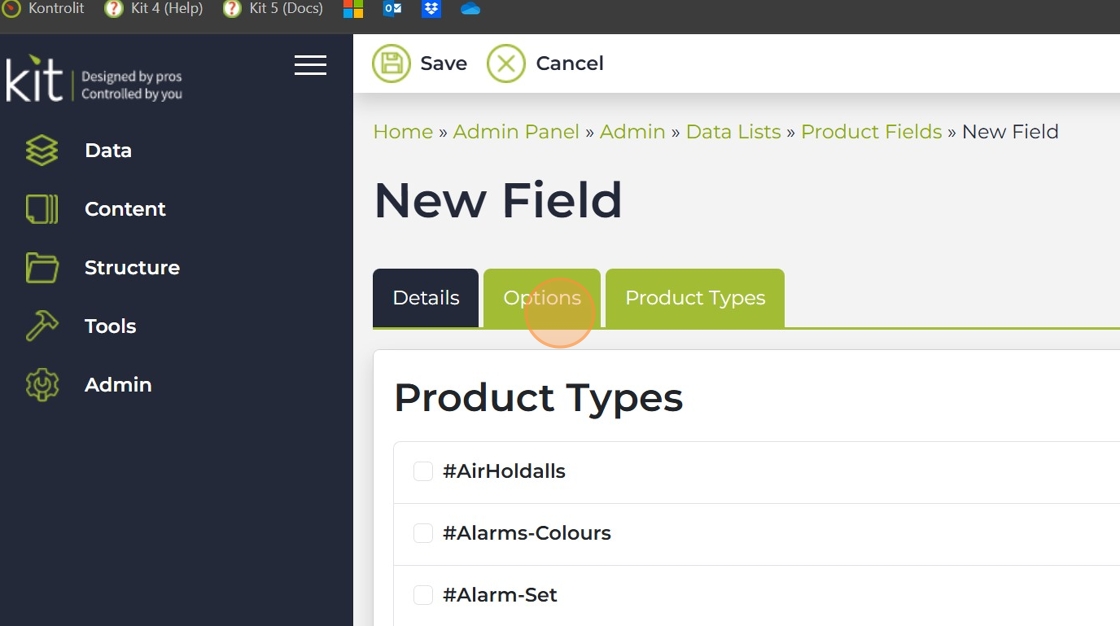
Fill out "Value" and press "Add".
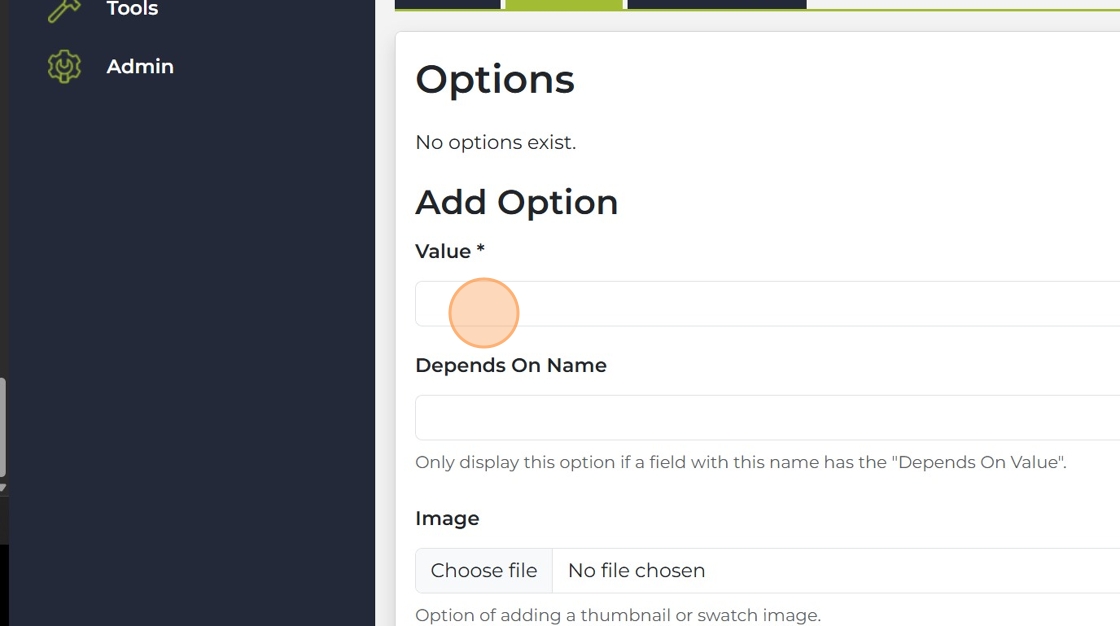
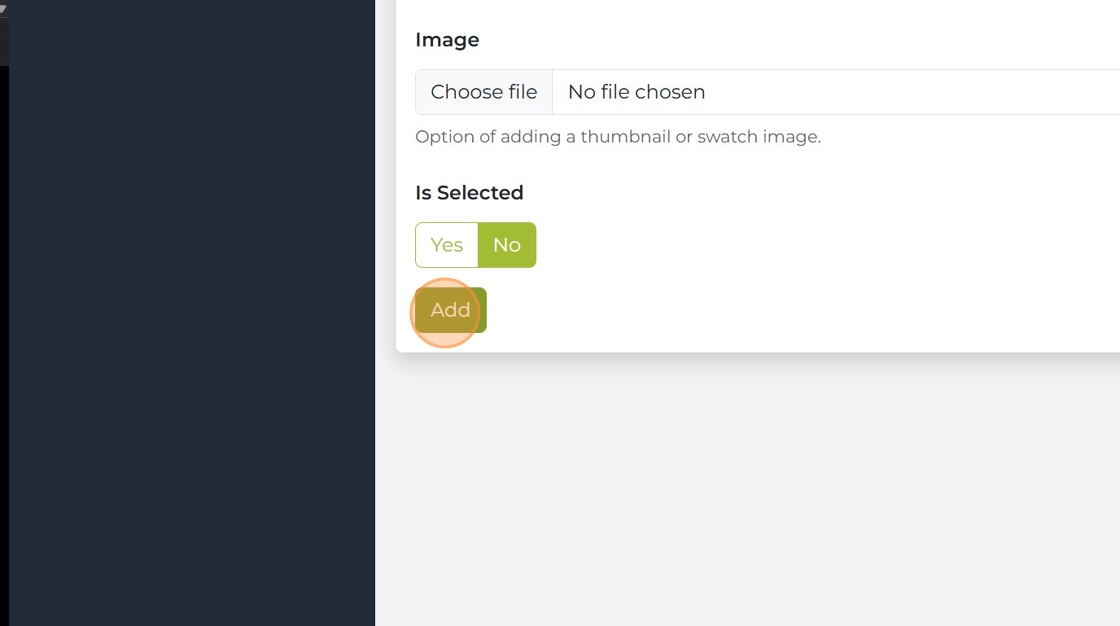
Now press "Save".
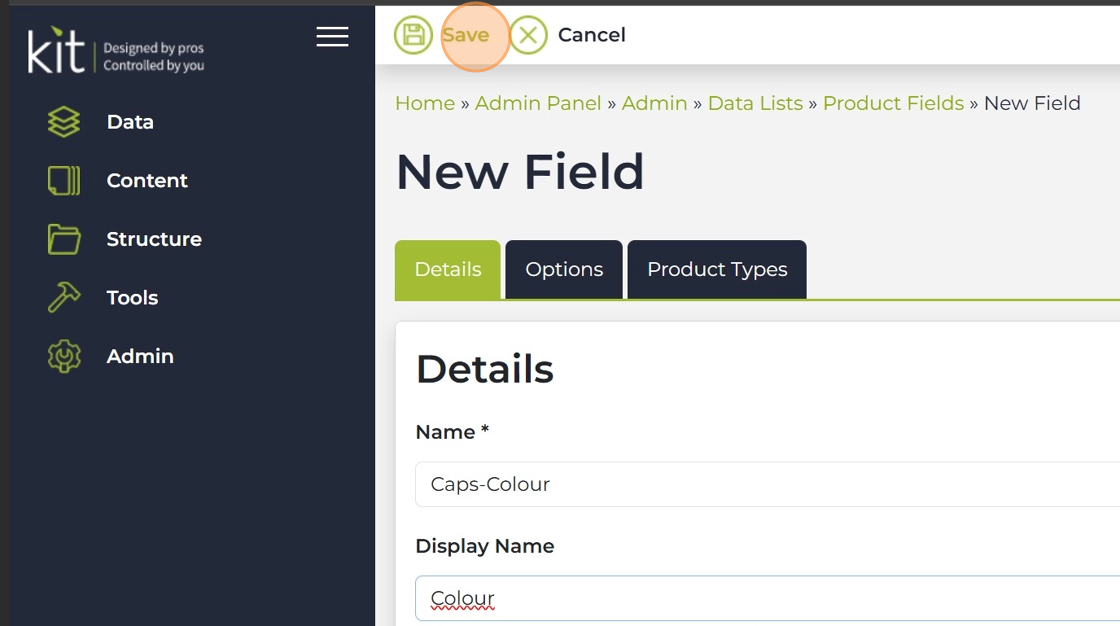
Now find the product listing in the admin panel, go and edit the product there. As we need to select the product field value that matches with the product.
Press "Edit product" on its current product, and select the new type that was just created in its type select list.
This needs to be done so when a user purchases a product with values chosen, then we know hat product needs to be dispatched.
You may need to create new products to fill out the product field's values.
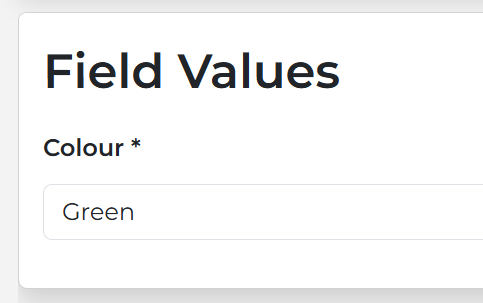
If you've created new products then add it to the product listing's products. You can also see the override for the product's field value here.

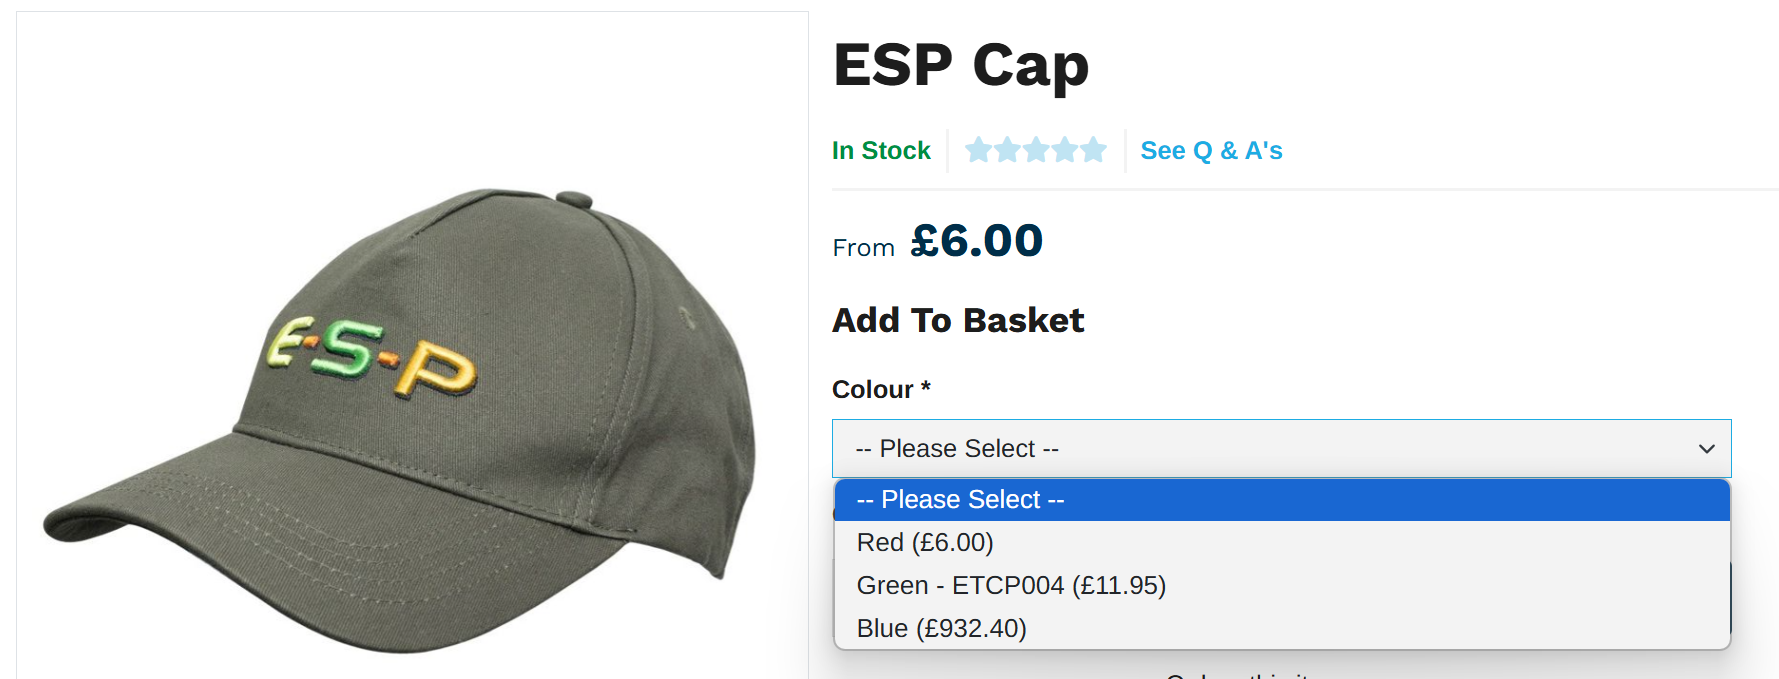
Now on the product listing, the colour can be selected.
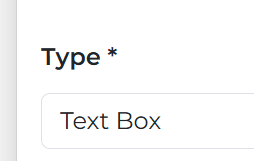
To add the Text field, we would do the same thing, but use the same product type. On the project field, set type to Text Box.
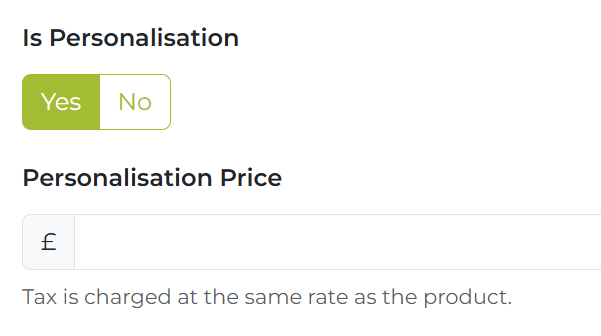
Set “Is Personalisation” to “Yes”. You could also charge an extra personalisation price.
Here is what it now looks like.
