Sale Price
- KIT5 allows you to add a sale price which will allow your website to display the original price and the sale price of the product.
Adding a Sale Price
- In the Admin Panel, navigate to Content and select products.
- Select the desired product and click edit and this will allow you to edit product listing.
- Scroll down to “Product Inventory” and then click edit.

- This section will allow you to edit anything related to product identification (name, barcode, MPN ,etc. Below is an example of what you can expect from the section.

Pricing Tab
- Price: Scroll down to the pricing area and enter the desired prices. This will be the original price of your product and this is the price that the customers see.
- Tax: KIT5 automatically calculates the tax for you which is more explained in the Pricing section.
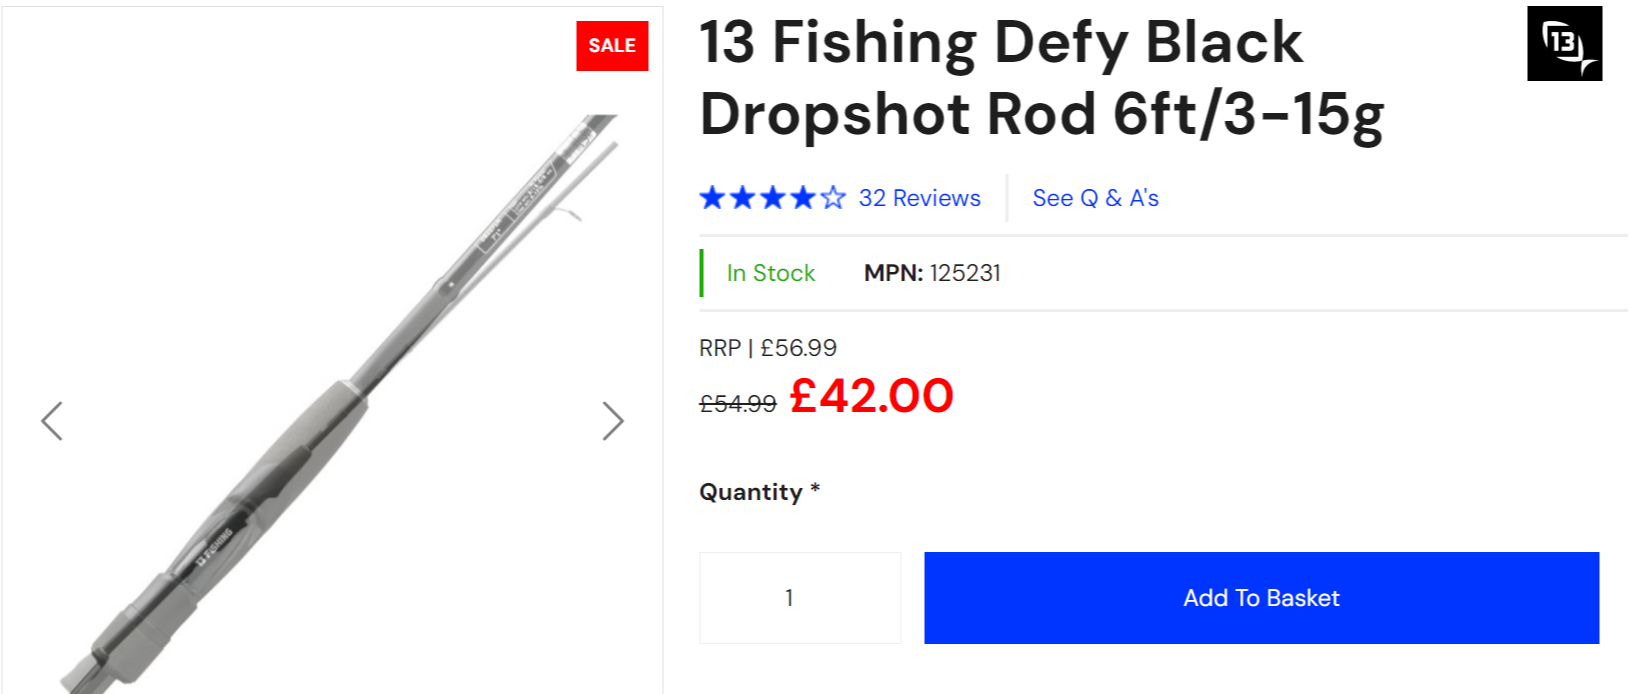
- Sale Price: This is where you enter the desired sale price and it will come out looking like the example below:

- Sale Price Start Date: This shows up when you enter a sale price and it allows you to set up the date and time in which you want to start the sale.
- Sale Price End Date: This again is only displayed when you enter a sale price and it allows you to enter the date and time you want to end the sale. Here is an example below.

- Customer view: Below is an example of what it will look like on your website once you have set the sale price up.